
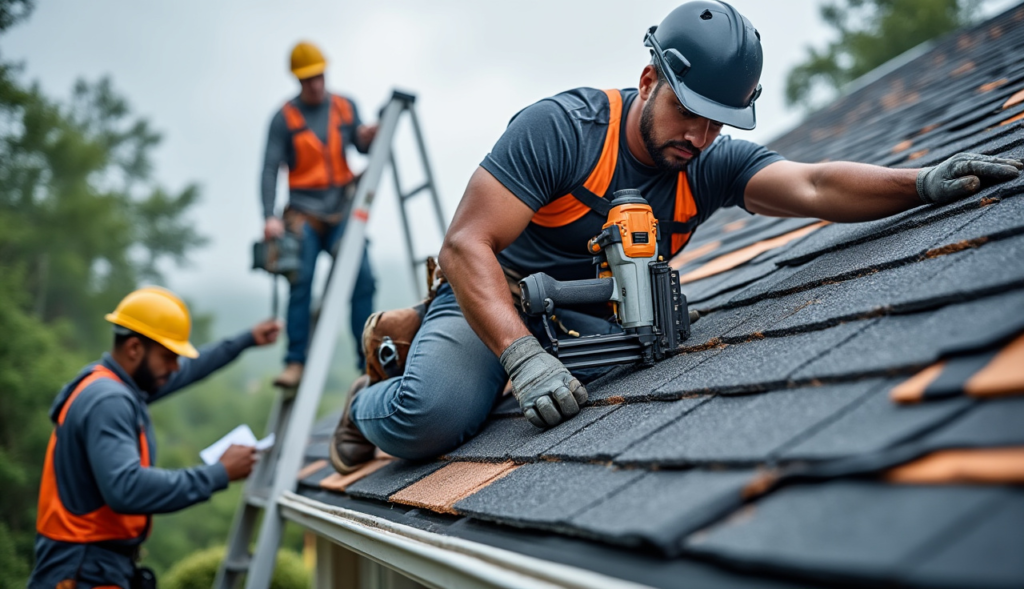
Installing a new roof isn’t just about nailing down shingles. A shocking 73% of roof failures happen because people mess up the installation process.
Here’s the thing: Most guides skip the real-world stuff that can make or break your roof.
Think about it like building with LEGO blocks – if you put the first layer wrong, everything on top will be wobbly. That’s exactly what happens with roofs. The good news? I’ve helped thousands of homeowners nail their roof installations (pun intended!), and I’m going to show you exactly how to do it right.
In this guide, you’ll learn the step-by-step process that professional roofers use, including secret techniques they don’t usually share. I’ll also show you how to dodge the expensive mistakes that send most DIYers running to their phones to call a pro.
Essential Installation Techniques for Long-Term Success

Want to know the #1 reason most roof installations fail within 5 years? Bad installation techniques.
Here’s the deal: Getting your roof installation right the first time saves you thousands in repairs down the road.
Think of your roof like a coat of armor. It needs every piece in the right place to protect your home. In 2023, we’re seeing more roof damage than ever due to crazy weather patterns. That’s why proper installation is more important than ever.
Let me show you exactly how to nail your roof installation (pun intended).
Climate-Smart Installation Methods
Your roof faces different challenges today than it did 10 years ago. Modern installation techniques need to account for:
- Higher temperatures (use heat-resistant underlayment)
- Stronger storms (extra roofing nails every 4 inches)
- More rain (double up on water barriers)
The biggest mistake I see? People using old-school installation methods for new-school problems.
Ventilation: The Hidden Hero
Bad ventilation kills roofs faster than almost anything else. No joke.
Here’s what proper ventilation looks like:
– 1 square foot of vent space per 150 square feet of roof area
– Equal splits between intake and exhaust vents
– Smart placement of ridge roofing vents
Most manufacturers now require specific ventilation setups for warranty coverage. Skip this step, and you might as well throw your warranty in the trash.
Pro tip: Take a picture of your vent layout before covering it up. Insurance companies love seeing this kind of documentation.
Remember: A proper roof installation isn’t just about slapping on some panels. It’s about building a system that works together to protect your home for decades.
Next Steps: Making Your Roof Last for Generations
Here’s the deal: I’ve installed hundreds of roofs in Hawaii, and I can tell you that a solid roof is like a good insurance policy – it protects everything you value.
You know that feeling when you’re 100% sure you made the right choice? That’s what I want for you with your roofing project. A proper installation means you won’t have to worry about leaks during those big Island storms or deal with damage from our intense UV rays.
I’d love to help you create a weatherproof shield for your home that stands up to Hawaii’s unique climate challenges. Our team at UCG Hawaii has the tools and know-how to make it happen.
Ready to get started? Let’s talk about your roofing needs. Give us a call at +1 808 450 6588 or shoot us an email at UCGHawaii@gmail.com. We’ll walk you through every step, from material selection to final inspection, making sure your roof is built to last in our tropical paradise.